This has to be the most useful DIY and if you're anything like us, a label making session is your idea of a Good Friday night in! Just imagine all the things that will now have an official spot with it's very own magnetic label! It's a super fast way to add some personality to your Mustard locker!
What you need
Step by Step
one.
Punch out the desired word on your label maker.
*Tip* Make sure you squeeze really hard on the trigger so the letters are well defined.
two.
Cut the magnet strip about 2mm smaller in size than the label.
three.
Stick the magnet to the label. Your new magnets are complete and your life is about to get a whole lot more organised!
Need some inspiration..?
In the kitchen.
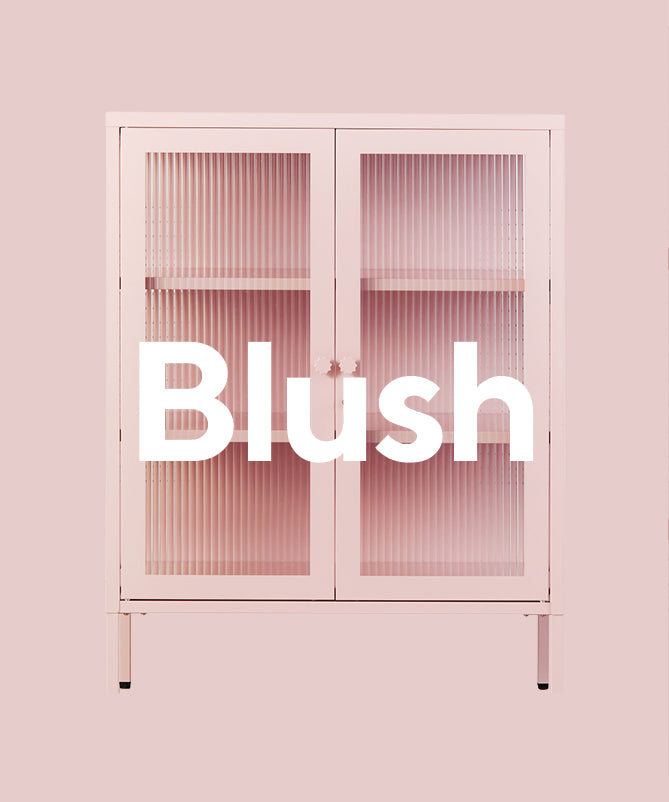
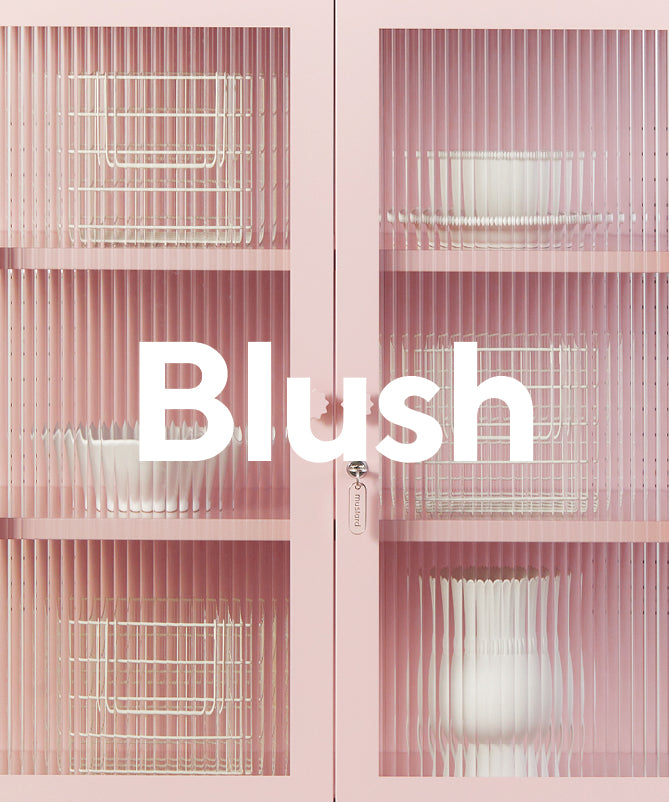
The midi makes a great addition to the kitchen or dining room if you need a bit of extra storage. Use your word label magnets to give each shelf a purpose.
Sort out the toys.
Not only will this make it easier to tackle tidy-up-time it will help your kids recognise words so they can be little helpers! You could also label your lockers with the kids names on the front then a spot for their school books, lunchbox, hat, shoes + drink bottle. Mornings might just be a little less hectic if they can find all their things!
Keep organised.
Lockers are such a great option for offices or the little corner of your living room you work from! Keep all your VIPs (very important papers) neat + tidy. Make one for your to-do list, things to post or create labels for each of your products.
Label your wardrobe.
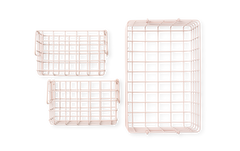
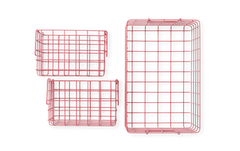
Finally, sort out your wardrobe once + for all! Make labels for everything from undies to sunnies, pop them all in baskets + you'll know where everything is when you want it! This is such a great idea for kids, they'll be able to put their washing away in all the right places!






Leave a comment