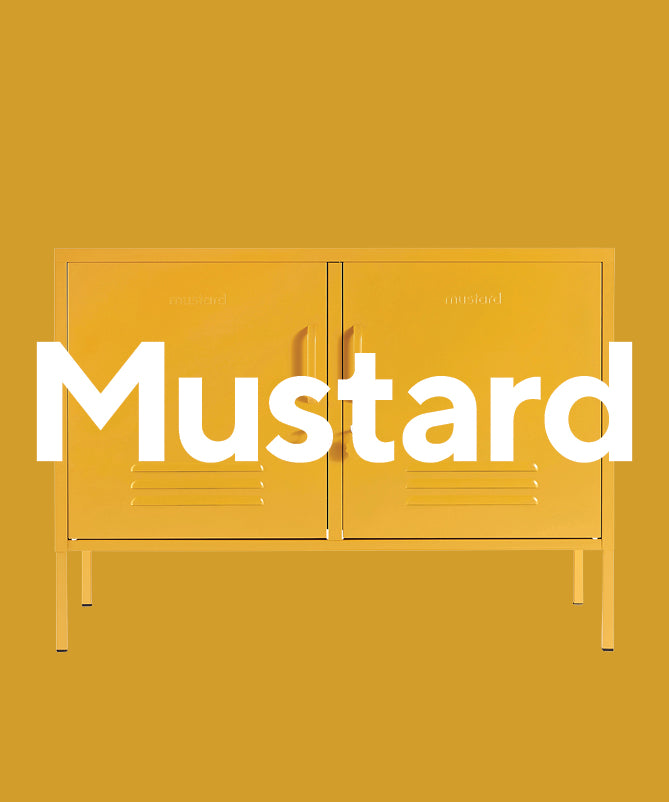
It's time to take your mustard locker to the next level with a magnetic frame you can make yourself!
Follow our instructions to turn your locker into an art gallery - hang all your favourite prints + photos with this super sweet DIY.
What you need
-
Dressed all round timber, 30mm x 12mm x 2.4m - we purchased ours from Bunnings, like B&Q
-
Saw
-
Pencil
-
Ruler
-
Drill
-
Hot glue gun
-
4 x Mighties Magnets (or any small but super strong magnets!) - we got ours from Officeworks
-
Paint brush
-
House paint in your favourite colour!
Step by Step
one.
Mark a straight line 21cm from the end of your piece of wood. Use a saw to cut the wood along the line. Repeat so you have 2 pieces of wood, each 21cm long. (This is the length we used for this DIY, but if the print you want to hang is bigger or smaller, feel free to adjust - you might just need an extra magnet or 2 if it is a lot bigger!)
two.
Sand all the rough edges until they are smooth - no splinters here!
three.
Drill 2 holes the same diameter as your magnets on the same side of the piece of wood, a few centimetres in from each end.
four.
Use a small dot of hot glue to secure the magnets in the holes.
five.
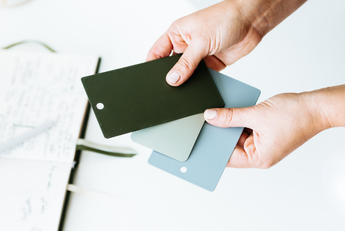
Give your wood a coat or two of your favourite colour paint and you're good to hang your artwork - of course, we went with Sage!
Ta Da!
How cute is that! We love the minimalistic look of this frame + how it can be personalised to suit any locker. We'd love to see what colour combinations you come up with! Tag us in your makes on Instagram - @mustardmade
Need some print-spo? The one we've used in the images is from the lovely @maddyyramsaydesigns_ and we've popped some more of our faves below!
Margoinmargate
Oh Squirrel
Sprout + Sparrow
Eleanor Bowmer
Hotel Magique
Wowhaus.au















Leave a comment