
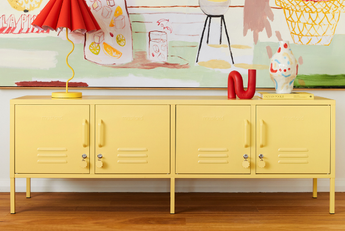
Safety
Safety
WARNING ⚠
Safety first! Mustard lockers are nice and sturdy, but it's important to follow the instructions carefully when building to ensure it is assembled safely. Children have died from furniture toppling over. To prevent serious injury or death, always anchor this locker to the wall. All Mustard lockers have holes on the back for wall fixings, ensure you use the correct fixings for your wall (these are not provided). Please consult a qualified tradesperson if you require advice.
Here are some other important safety tips to help avoid accidents:
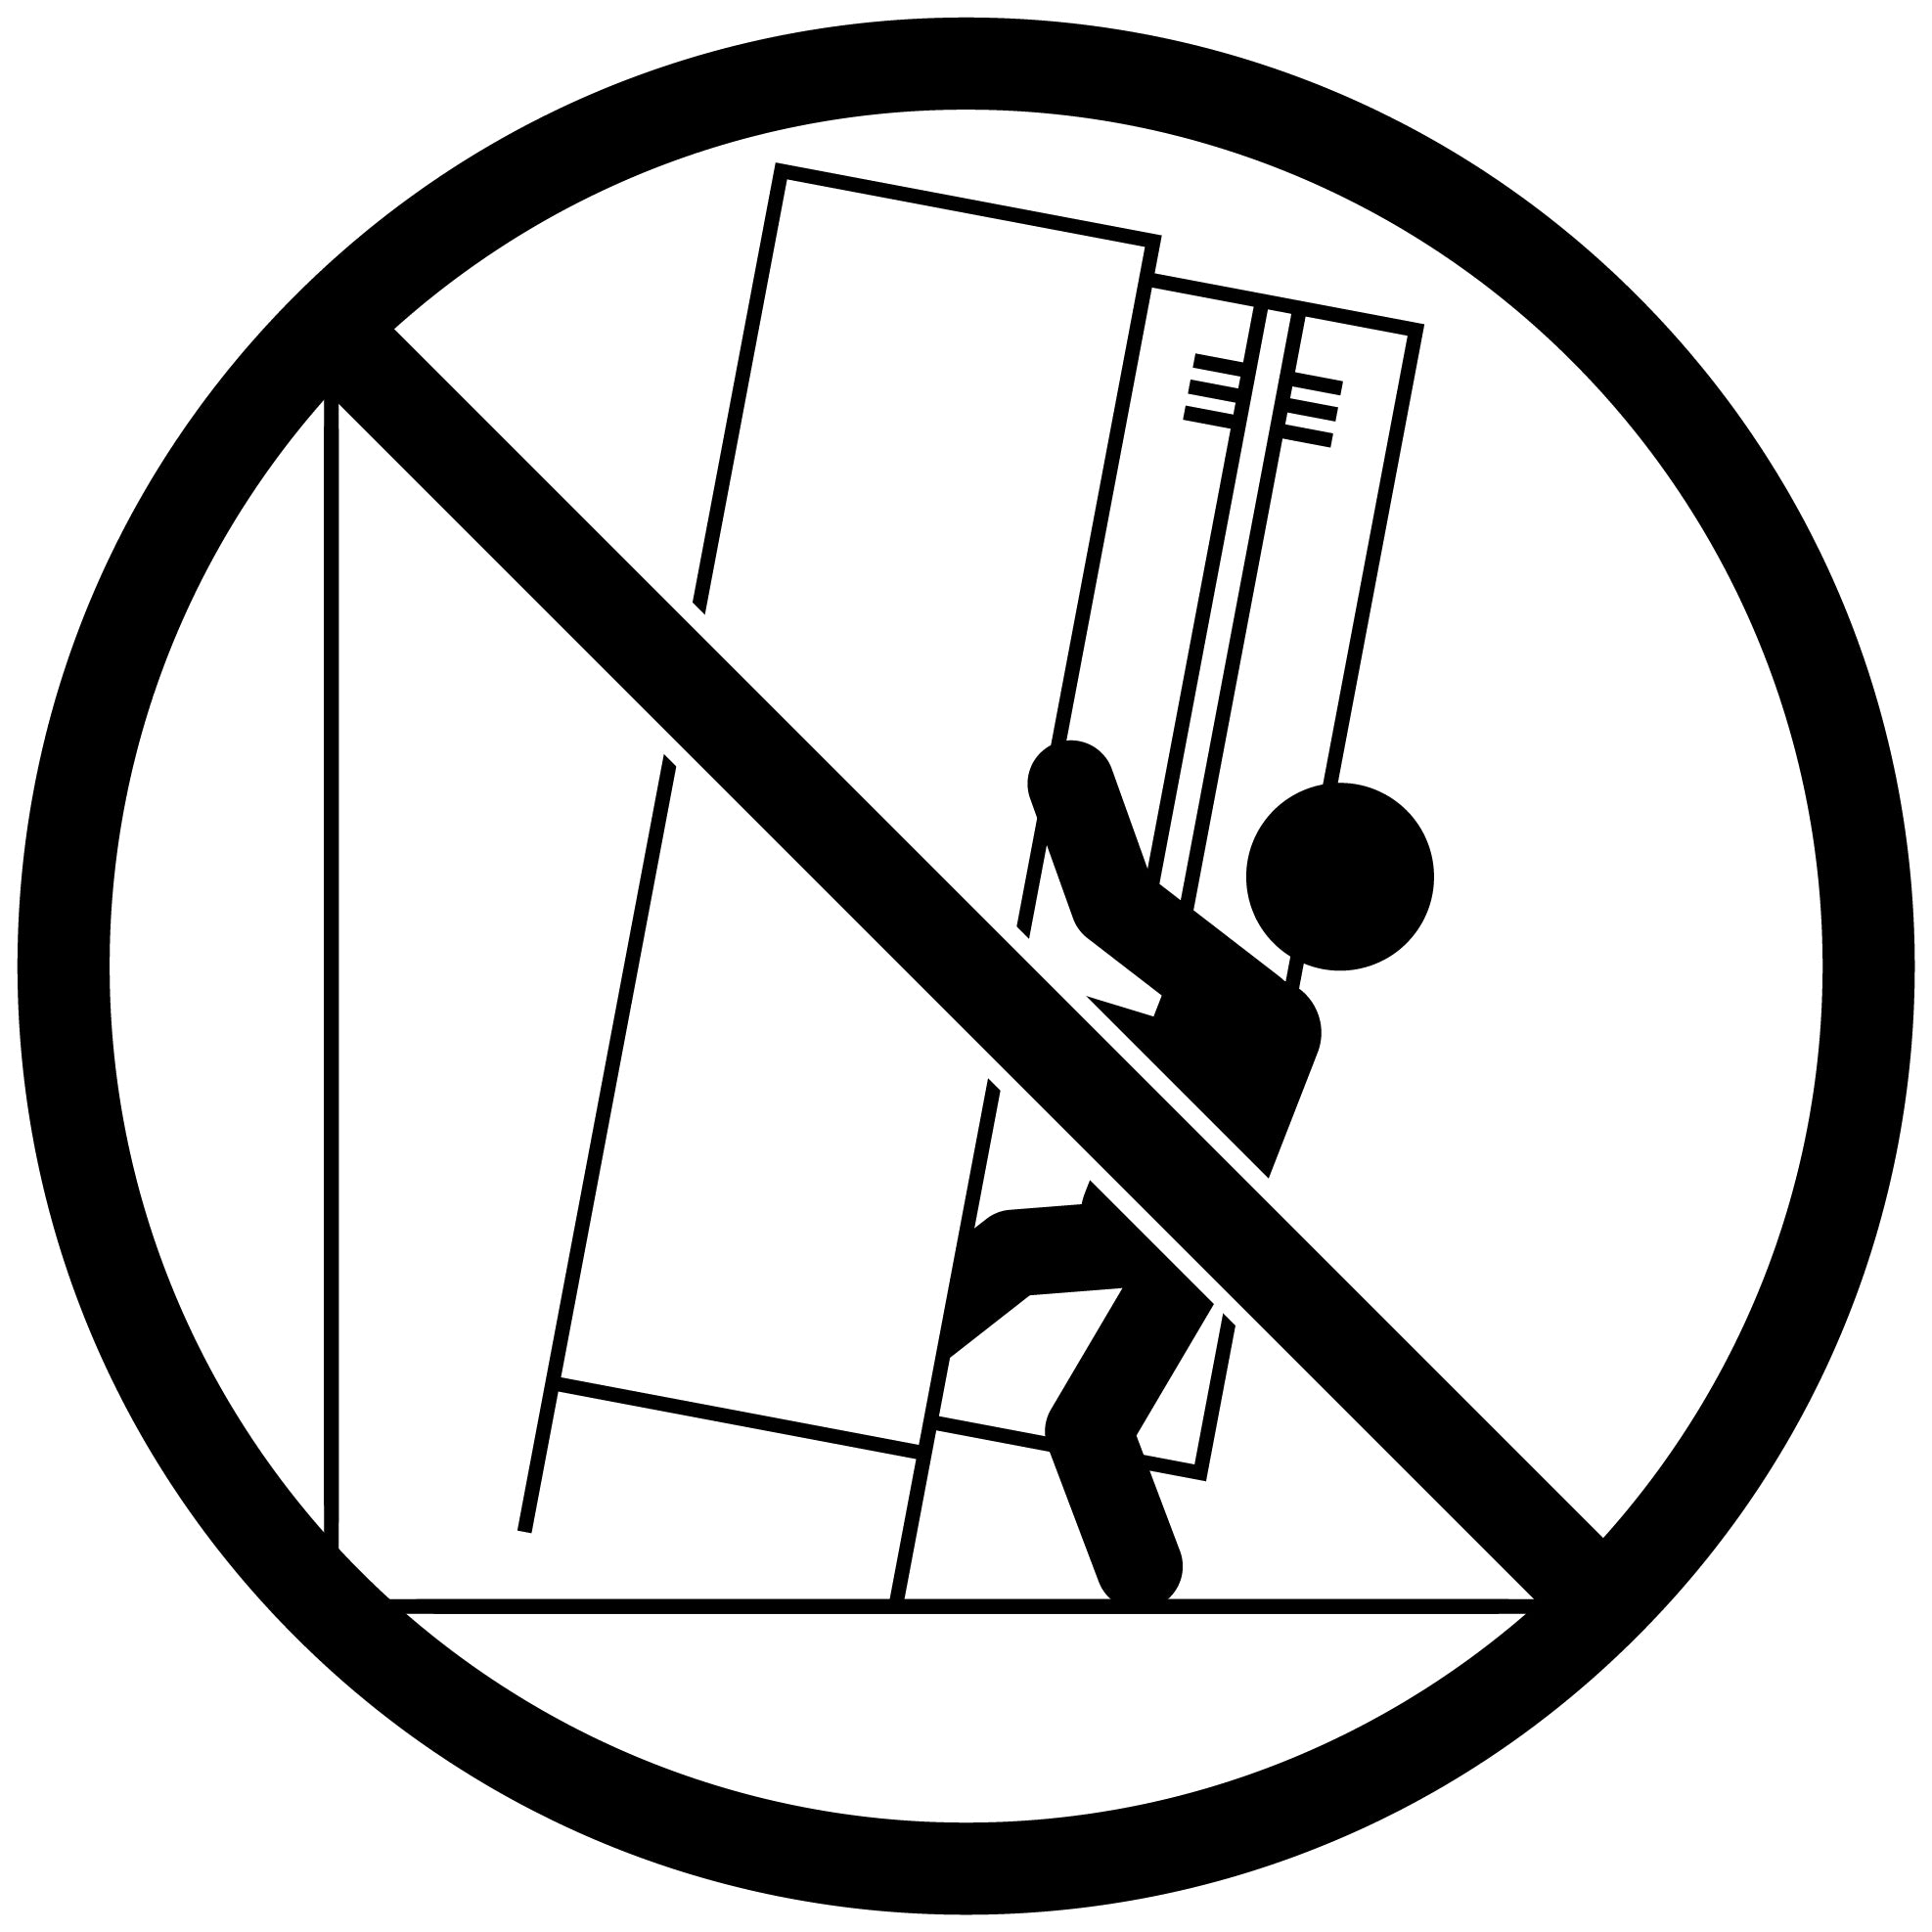
- Never sit, stand or climb on your locker
- Keep doors closed when not in use
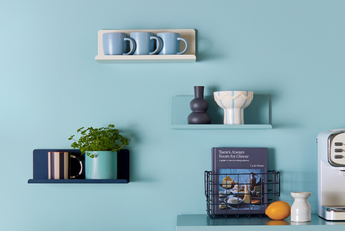
- Avoid placing anything heavy on top of your locker
- Keep heaviest items on the bottom shelves
- Always secure your TV with an anchor device if placing on top of a locker
How to secure your original locker door (so it doesn't fall off!)

Step 1
At the top of the door, insert the L shape post up into position through the holes.

Step 2
Push the tab up! This holds the door in place.
How to attach The Mixer and The Collector to the wall

Step 1
From the back of the locker, screw the wall brackets to the side panels using the hex screws + hex key provided.

Step 2
Place your locker in the desired position against the wall. Adjust the brackets so that they extend out the back of the locker and touch the wall.

Step 3
Using a pencil, mark the wall through the slot bracket. Repeat on the other side.

Step 4
Through inside of your locker, screw the brackets to the wall. Select the appropriate fixing type for your wall. If you need help, consult a qualified tradesperson for advice.
How to secure your original locker to the wall (with no skirting boards)

Step 1
Stand your locker flush against the wall in your chosen spot.

Step 2
From inside your locker, mark the wall at the top of the slots.

Step 3
Select the appropriate fixing type for your wall. If you need help, consult a qualified tradesperson for advice.

Step 4
Screw your fixings through the slots. Ta-da! Give yourself a high five.
How to secure your original locker to the wall (with skirting boards)

Step 1
Measure the depth of your skirting.

Step 2
Source a piece of timber the same depth as your skirting and wider than the distance between the two slots on your locker.

Step 3
Stand your locker flush against the skirting in your chosen spot.

Step 4
From inside your locker, mark the wall at the top of the slots.

Step 5
Place the timber against your wall, covering the marks.

Step 6
Mark the best position for the screws to attach the timber to the wall. You may want to align these to your wall studs.

Step 7
Select the appropriate fixing type for your wall. If you need help, consult a qualified tradesperson for advice.

Step 8
Use these fixings to attach the timber to the wall.

Step 9
Place your locker flush against the timber in your chosen spot.

Step 10
Screw your fixings through the slots into the timber. Nicely done.
Get building
Ready to assemble? Find our helpful how to videos and we'll walk you through the build step-by-step. You got this!
Build it